
Fast Memory Upgrade
Assuming you have unplugged your pc already, just follow these simple steps to replace or upgrade the RAM in your computer. Remember to make sure the memory you have will work in your pc and, if adding more RAM, that it matches the memory you already have. In other words, if your pc came with DDR3 memory, or is “pc2-5300” or whatever, make sure that’s what you put in it or it may not work. Just because you want 2000Mhz RAM doesn’t mean your system can handle it. To be certain you’re running the fastest memory you can use, it’s best to just look up the specifications for your pc model online, usually at the manufacturer’s website.
1. Remove the side cover of your pc. Looking at the back of your pc, this is usually the right side, but some Gateway models and others have recently started using the left side. It should be obvious to you, as there will be some latch mechanism on the correct side. Once you’ve removed the cover, lay the pc on its side, so you can reach into it easier. Touch the metal case to put yourself at the same electrical potential as the case, eliminating static electricity.
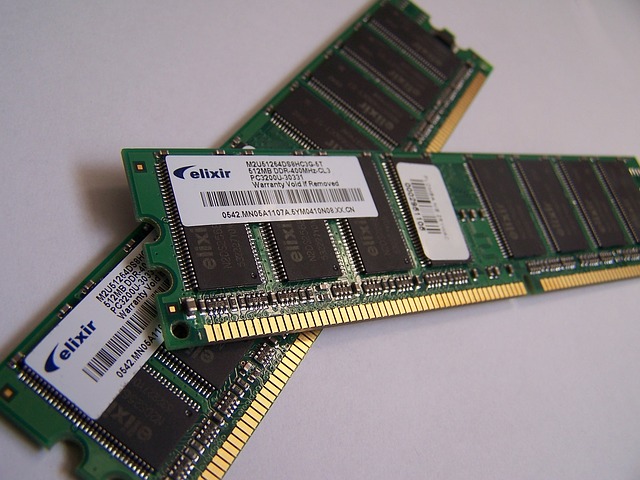
2. Locate the RAM cards, located on the motherboard near the CPU. You will know what to look for if you look at the replacements you have bought. Remove the cards by releasing the latches on each end of the card and pulling the cards straight out. Make a mental note of the gap in the bottom of the card. It will be slightly off center, and you will need to remember this when you insert the new cards into place.
3. Noting the correct orientation, slide the new RAM cards into the slots on the motherboard. The cards should require very little pressure to seat properly into the slots. If the gap orientation is wrong, the card might seat on one side but not the other. If this happens, do not force it. Remove the card, recheck the gap and try it again. When the latches close on both sides, the card is seated properly. Remember, it should require very little force.
That’s all there is to it! But before replacing the case side panel, check out the fan and other things for too much dust or any debris that might cause heat inside the case. Then replace the cover and you’re good to go!
When you restart your computer, it might stop and report that the system memory has changed. If it doesn’t, you can check the available memory in Windows by right clicking on MyComputer and selecting “Properties”.